It's Monday after the long Thanksgiving weekend,
and I, along with many of you out there,
am recovering from the festivities today.
Fighting off the lethargy,
struggling to focus on tasks,
and all the time thinking of how comfy the couch would be,
how nice to snuggle up all day in a blankie,
and just watch some of the episodes of NCIS
that are stored on the DVR.
However, that's just not going to happen.
It's been a busy morning,
my Daisy, a big, old, fluffy 20plus pound Shih,
had an eye that was not looking so well.
Luckily, the vet said some drops would help relieve the pressure,
so the eye should be back to norm in a few days.
However, he also confirmed what we had feared,
Daisy has very little sight.
It doesn't slow her down alot,
but lately she's been bumping into more things.
But she is happy,
and bouncy,
and jumping about,
now that she's home from the vet.
Daisy does not like to leave the homestead for long.
She's a homebody and doesn't see the need to be out and about.
I'm like that somedays too.
I'd been hoping to make some fan paper ornaments
to decorate my booth at the antique mall.
Thankfully, the thrift store had more sheet music,
as I'd used what I had making these ornaments.
I can't remember when I first learned to make paper fans,
perhaps in first grade,
but maybe even before.
So this project takes something that many of us learned as children
and combines it with something that we use everyday - paper.
You can do this with any paper you have about -
brown paper bags, magazine pages, gift wrap,
or, as I've done here, sheet music.


I want to make a HUGE wreath like this
from some wrapping paper that I found recently.
Crossing my fingers that it works.
If so, I'll be sharing it tomorrow.


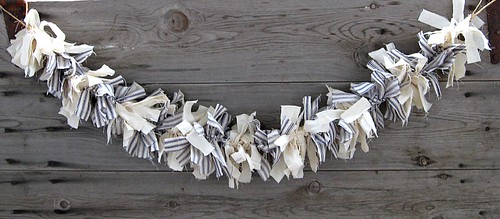
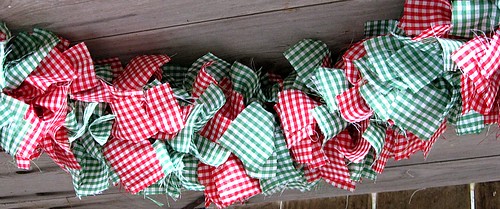
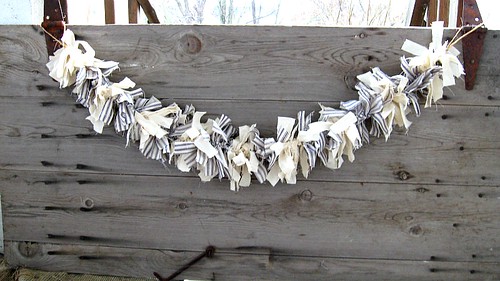
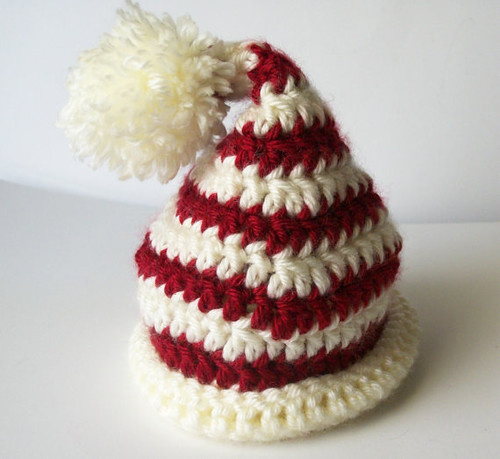
Below are a few more of my Christmas ideas
Just click the photo for more details